
After showing you a demo about compiz fusion here’s an easy2use walk-through how Compiz is installed on Ubuntu 8.10 Intrepid. First, in order to use a 3D window manager, you need a capable 3D video card in your computer. NVidia and ATI both support Linux with drivers for their cards.
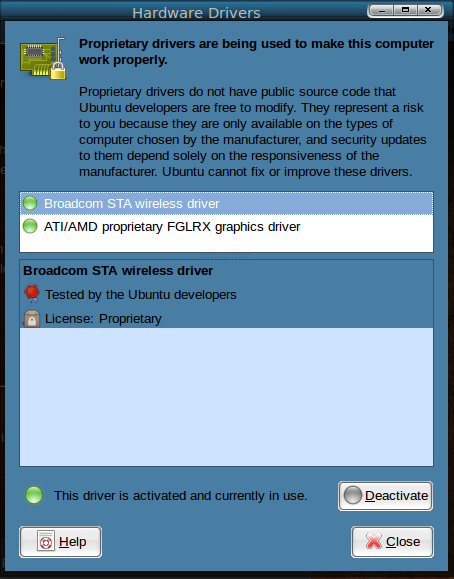 First you have to setup your 3D driver for your video card, go to System -> Administration -> Hardware Drivers. Here you can find a list of all available drivers for your hardware. In my case, I get the list of available ATI/AMD drivers. Again, at first none of these will probably be selected and the “This driver is not activated” button will be lit. Choose the recommended driver, then click on Activate. Ubuntu will then download and install your selected video driver. After the installation you must reboot so Bookmark this page!! 🙂
 Ubuntu has a 3-level preset package approach to 3D desktop effects. You can choose the level of effects from the menu bar using:
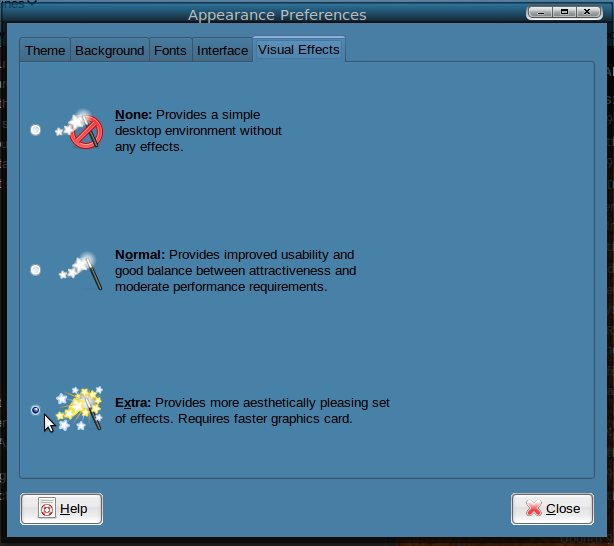
System -> Preferences -> Appearance.
Once the Appearance dialog appears, click on the Visual Effects tab, the None button will be selected. Here you select Extra. This will enable a minimal set of effects which includes :
animation for windows creation (zoom/fades in), closing (zoom/fades out), minimizing/restoring (zooms/fades to/from task bar), switching desktops (slides them laterally), wobbly windows, snapping windows, resizing windows, and the visual task switcher.
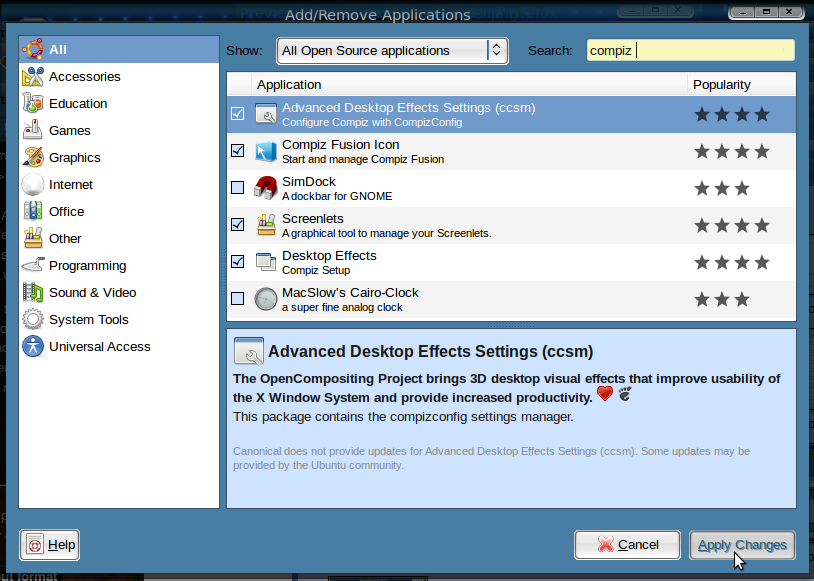 Now you wil need to install the Compiz Configuration Settings Manager (called Advanced Desktop Effects Settings in Add/Remove), the Emerald Theme (if you want to customize program windows) , Fusion Icon. These can be installed by opening Applications -> Add/Remove, then typing “compiz” in the search box. The Emerald Theme can be downloaded by typing:
sudo apt-get install emerald
in your Terminal (Applications -> Accessories -> Terminal).
After you’ve sellected these applications click on the Aply changes and everything will be installed.
 When everything is installed you can find your Compiz settings under:
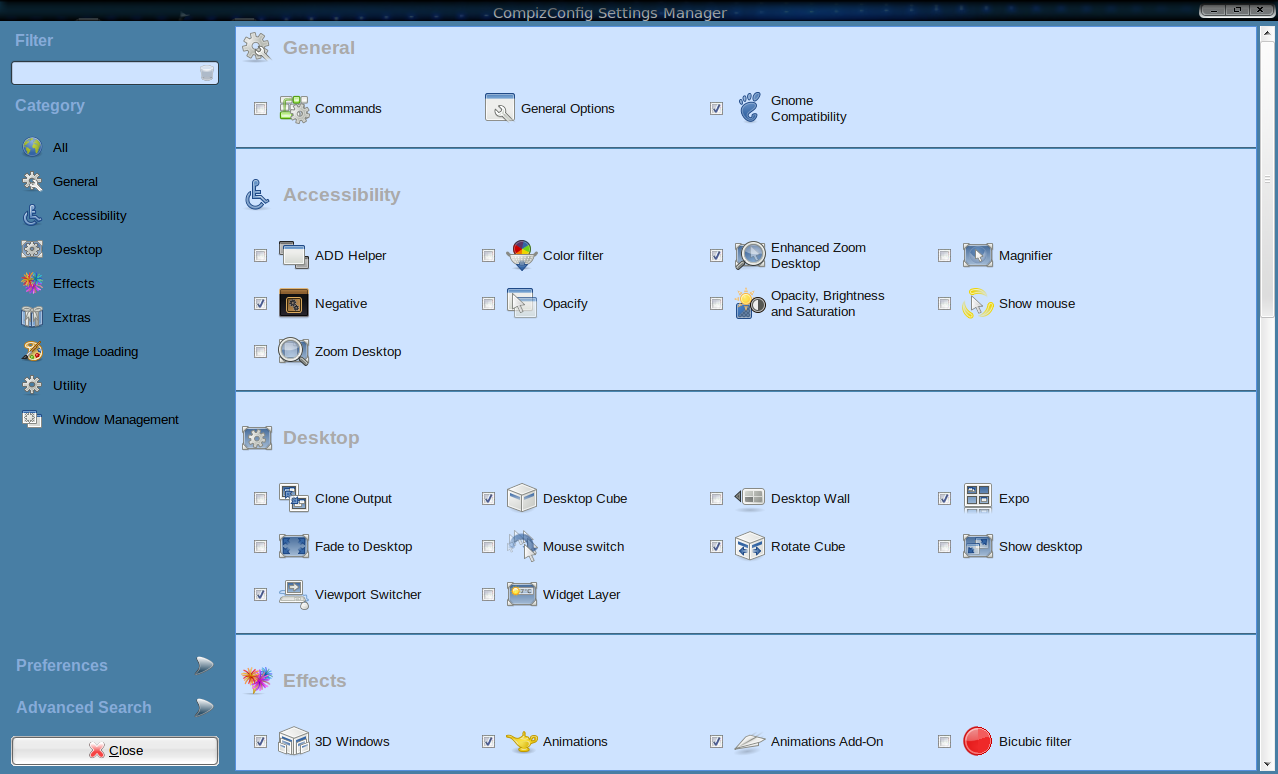
System -> Preferences -> Compiz Config Settings Manager.
You can scroll though the screen and see what is enabled by the standard Ubuntu Visual Effects settings. It works very simply. You can use the defaults settings or select the effect you desire by selecting the box next to the effect name. By clcking on the effect name you can change the settings and duration of the effect. You can start playing arround untill you have found the effects you want to use. Good luck and have fun!!
End of part 1.
Part 2 : Install and setup Desktop Cube.
Part 3 : Compiz Effects.