Here is a step by step manual to connect your Ubuntu to your shared printer in a windows network. First you will need to open your Printer Configuration (System-Administration->Printing)
Watch a video here (no sound) or follow these steps
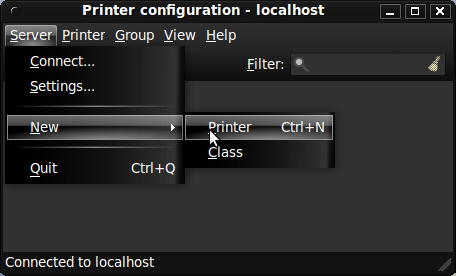
Then select Server->New->Printer
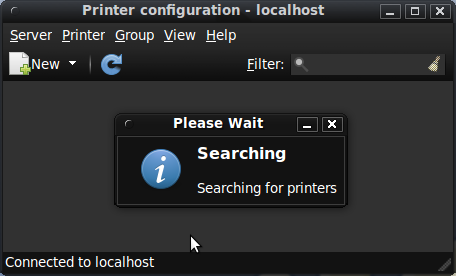
Please wait while searching for printers
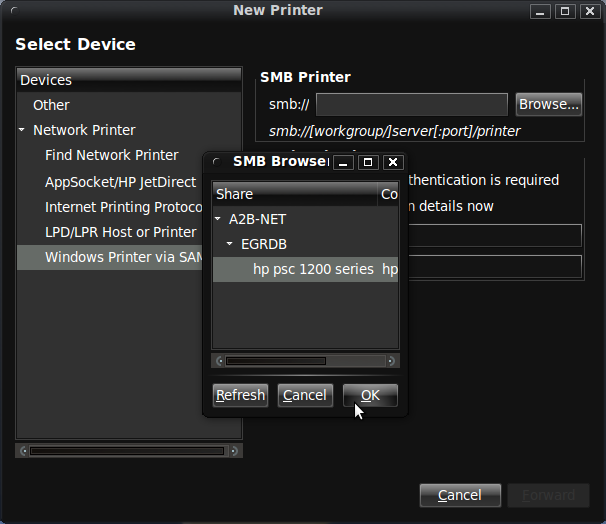
Select Printer via SAMBA, click on the browse button. A new window will open and your network will be shown now browse to your
printer and select it and click the Ok button and click Forward
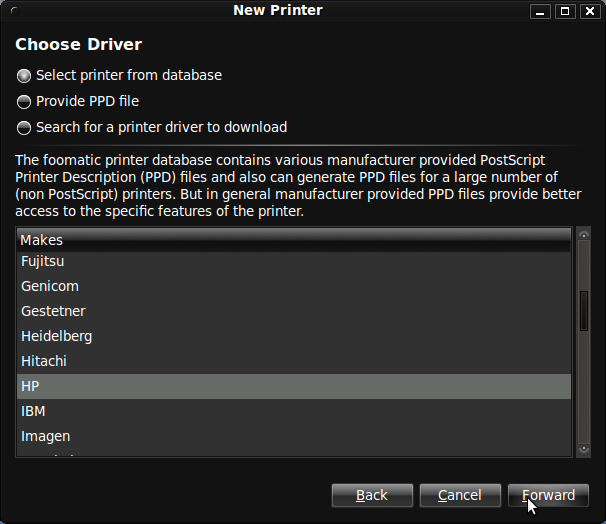
Now select the printer and click the Forward button, a new window will open with a list of drivers for your printer.
Select the driver for your printer and click the Forward button
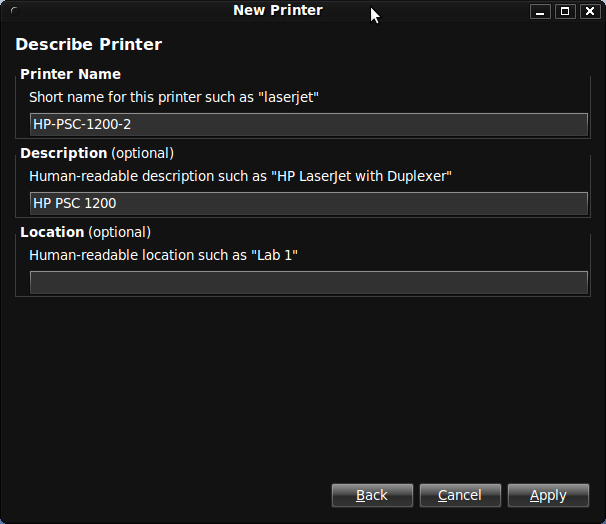
Here you can name your printer or change the discription. Click the Apply button to goto the next step
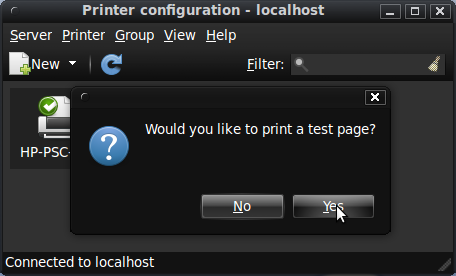
As you can see we are almost done, click yes to print the test page
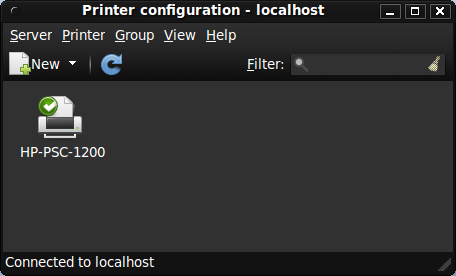
When the test page is printed your shared printer is ready to use!!
