
Hey guys, nice sunday today, nice day to talk about LAMP. LAMP stands for Linux, Apache, MySQL, PHP. The combo to create a server for hosting a website.
In this part I’m going to show you how the install should be done and later on how you should install everything and maintain it. A lot of what you will come along will sound familiar from my other posts. First up before we start, don’t mind the border of the screenies I did everything from within VMWare Workstation. Full size screenshots are available below.
Start with putting the CD in and bootin from it so you will get the follwing screen.
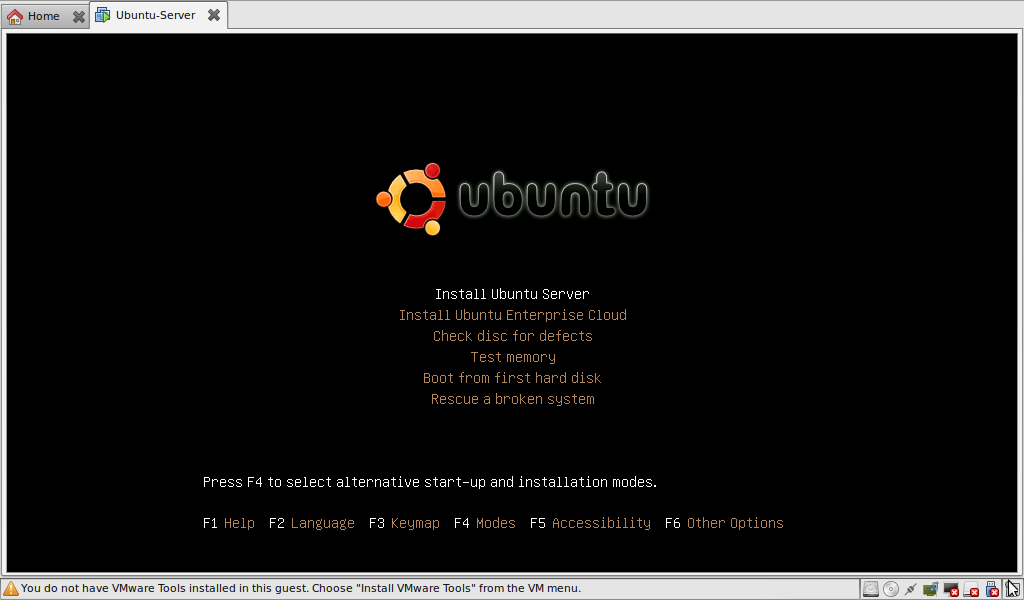
Just Select the top entry, Install Ubuntu Server.
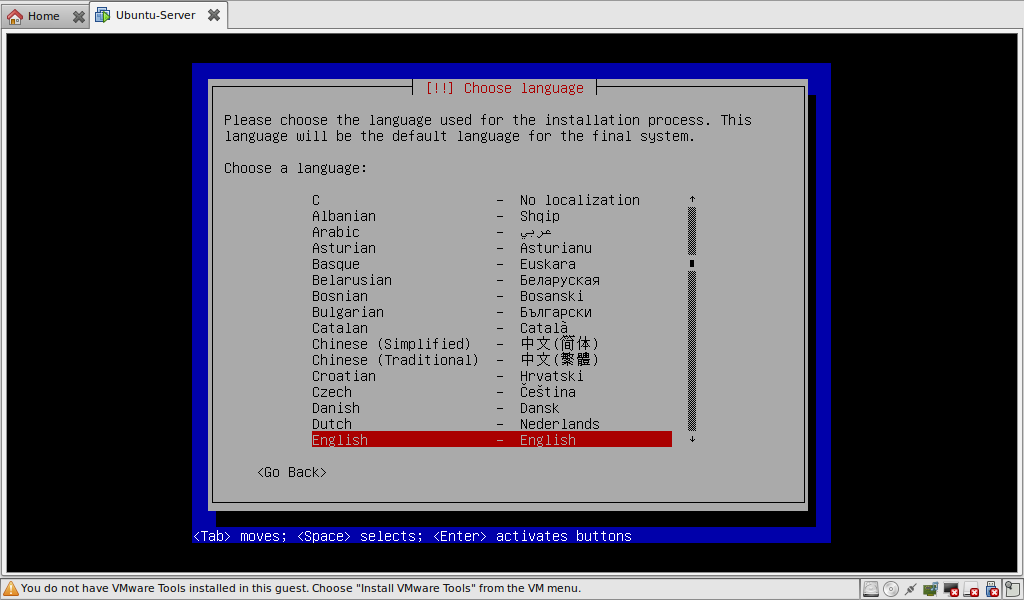
Select your language.
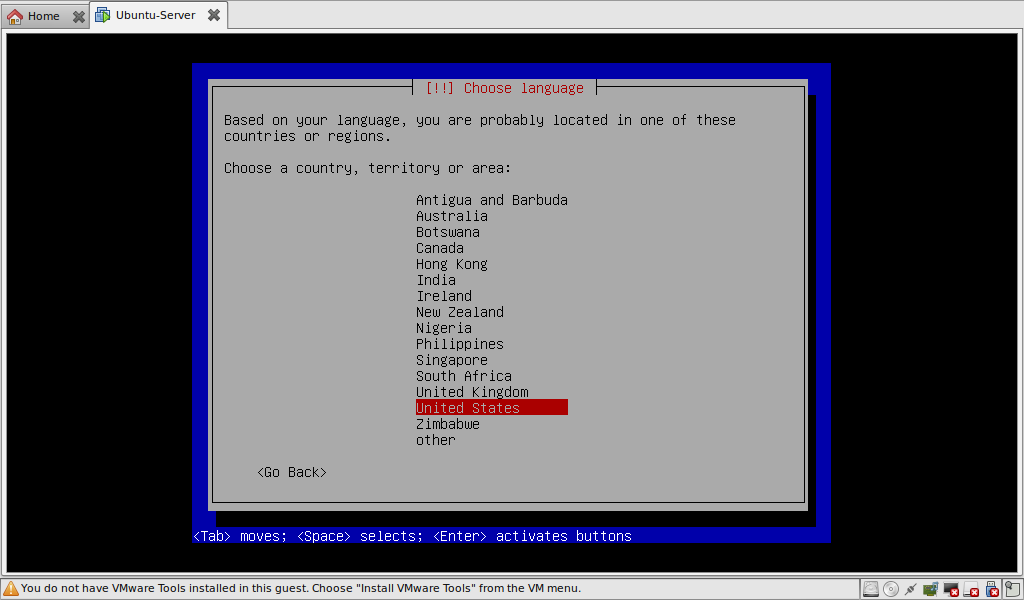
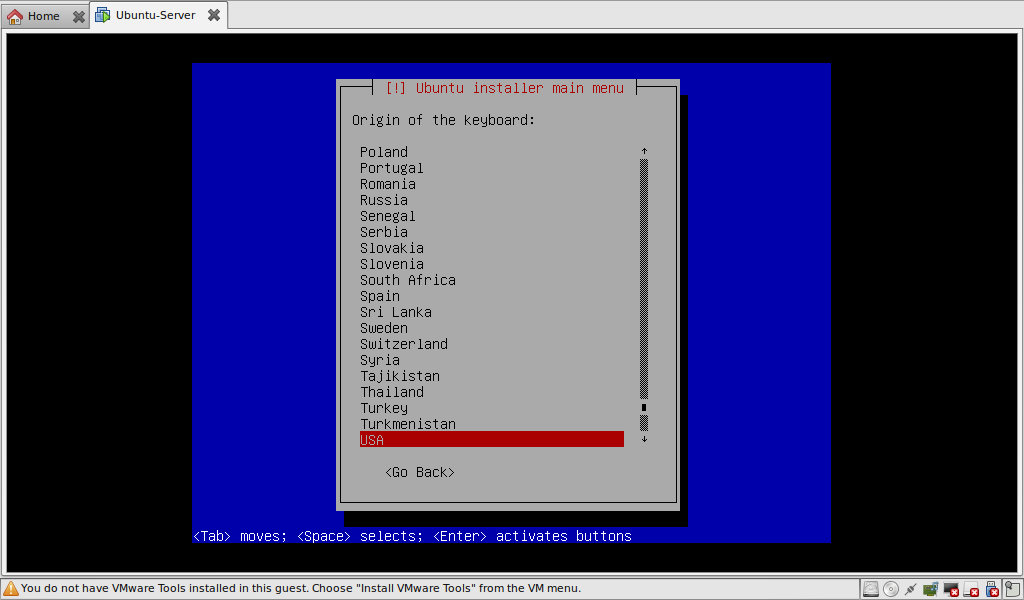
For the manual I just choose the US, but it is advised to select your region here since the server list and time zone will be based on this.
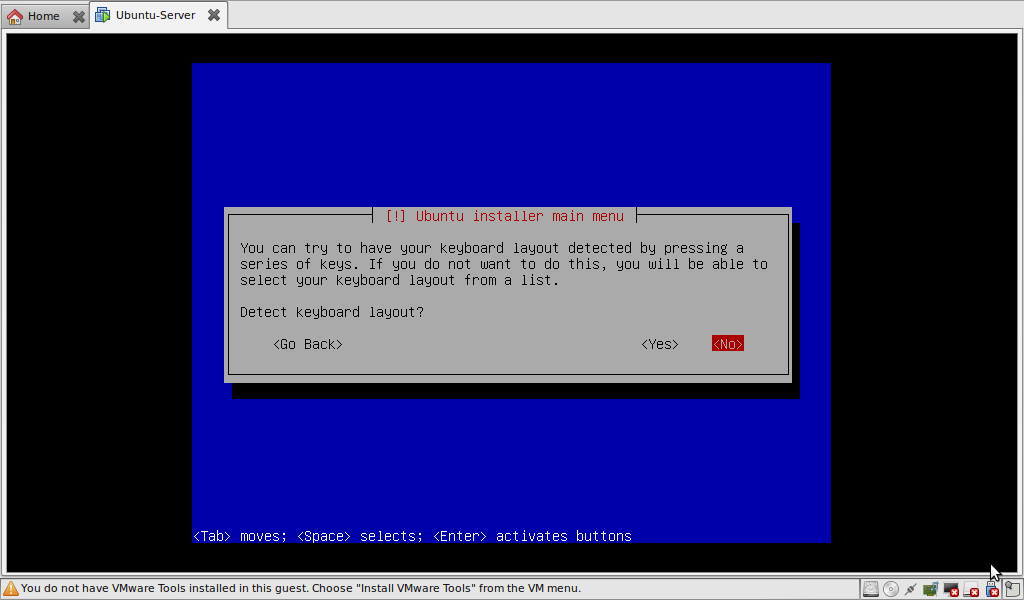
Now we’re asked if he should detect the keyboard layout automatically, choose NO here. We want to do this ourself so we can make sure it is set to USA without dead keys, standard USA. Dead keys are ‘ ” `, if you press them and don’t get them immediately it means you have dead keys turned on so you can make é. This isn’t advised for a server.
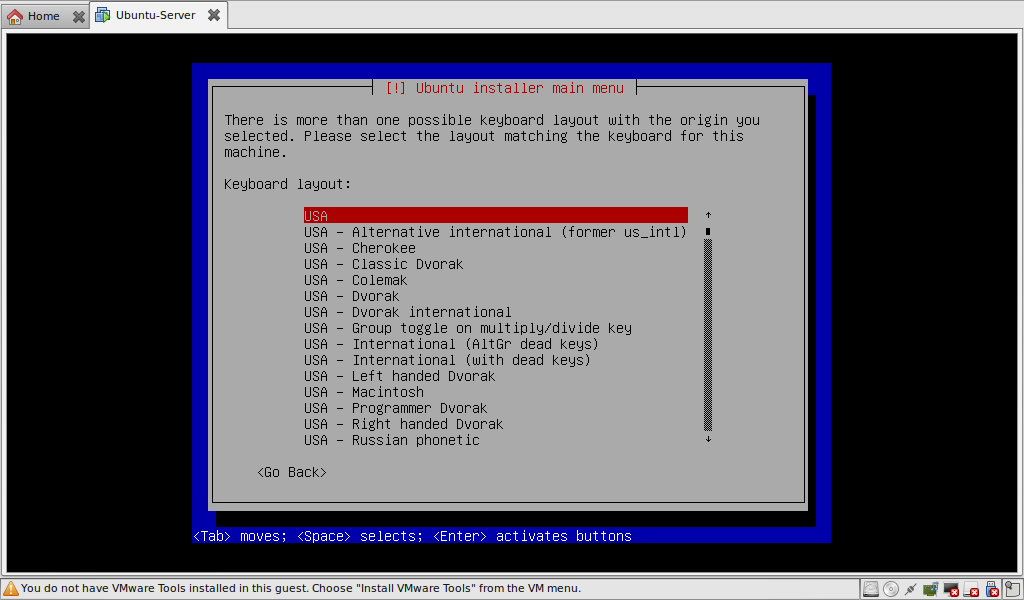
Owke now the keyboard layout is set, we’re going to set the hostname.
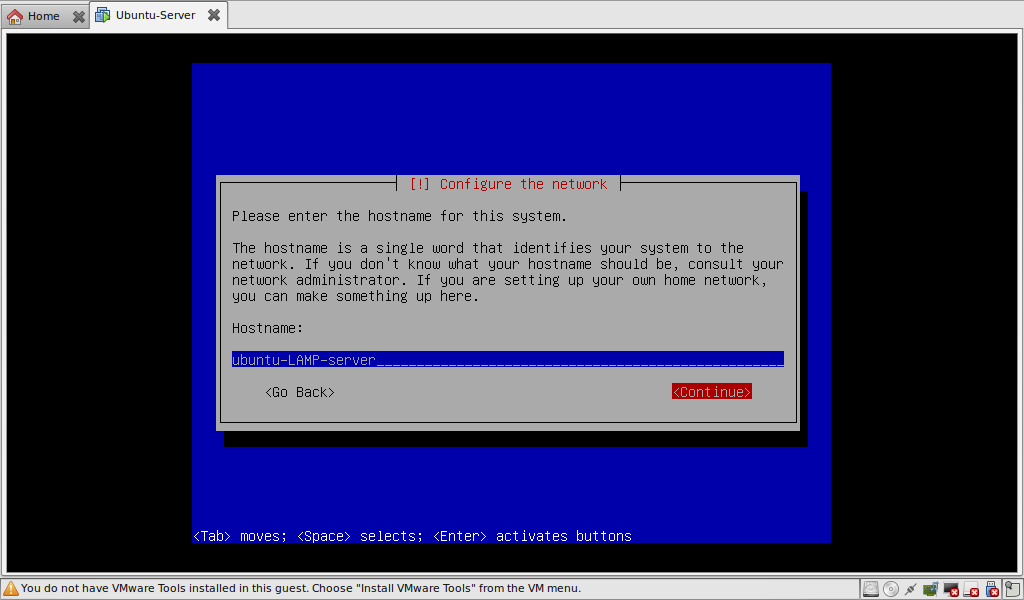
Now we’re asked about our timezone, in my case central.
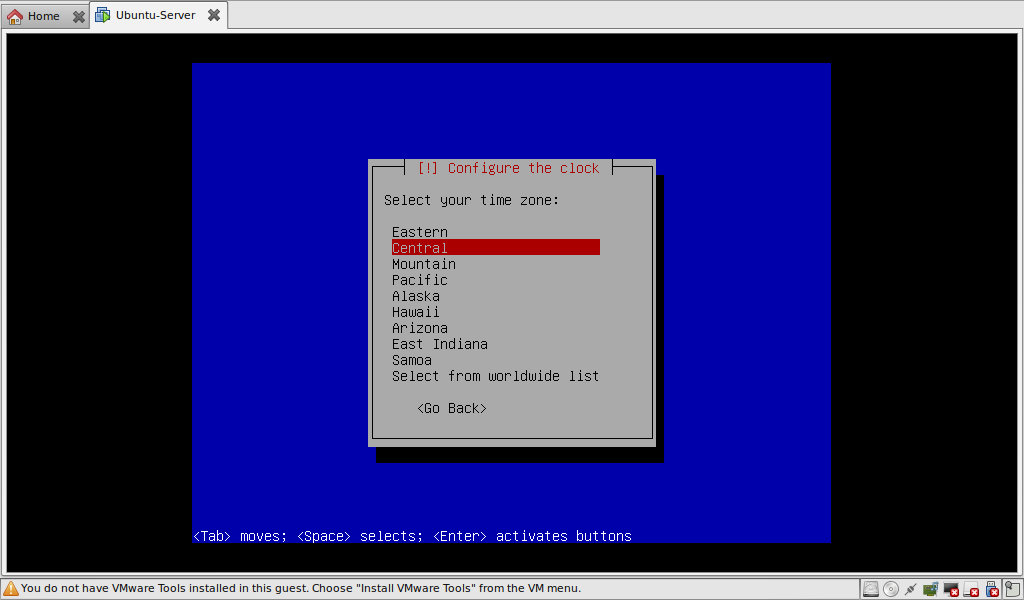
Now it’s time to create the partitions and install the basic system.
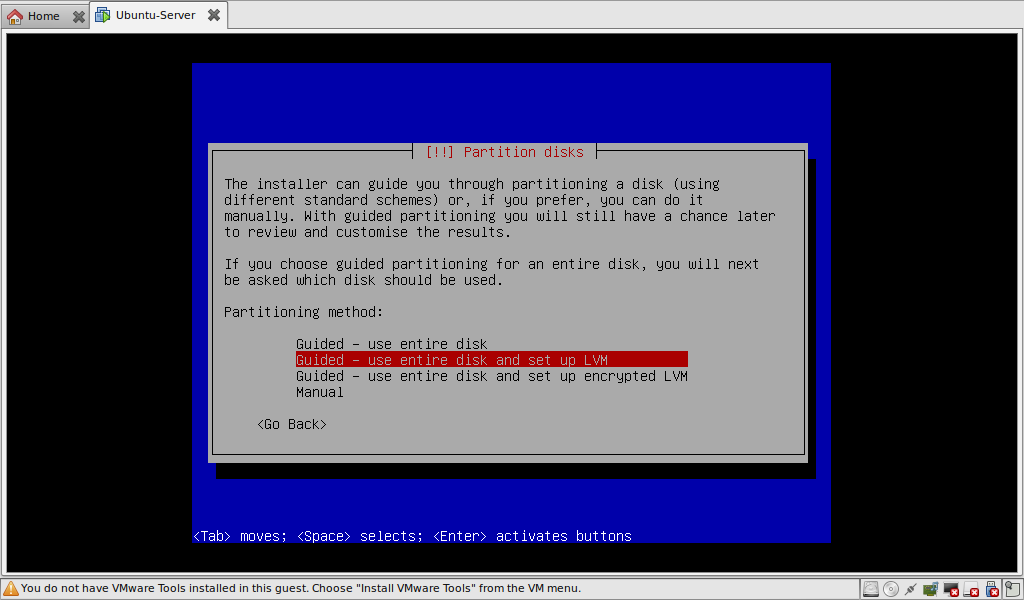
I’ve chosen for Guided with LVM, LVM is linux volume manager, this gives you the ability to virtually increase the partition. Basically you can add multiple partition from different drives to LVM so the files are spread and you have more space. Bit like RAID 0 (if I remember correctly)
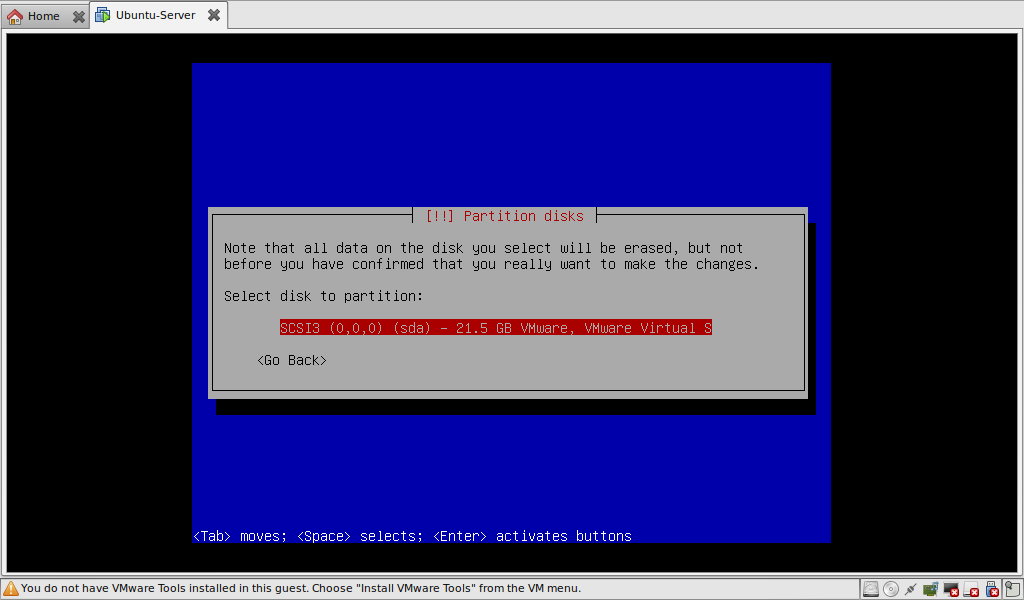
Select the drive you want to install to, in my case the virtual one of VMWare.
And the confirmation of the disk.
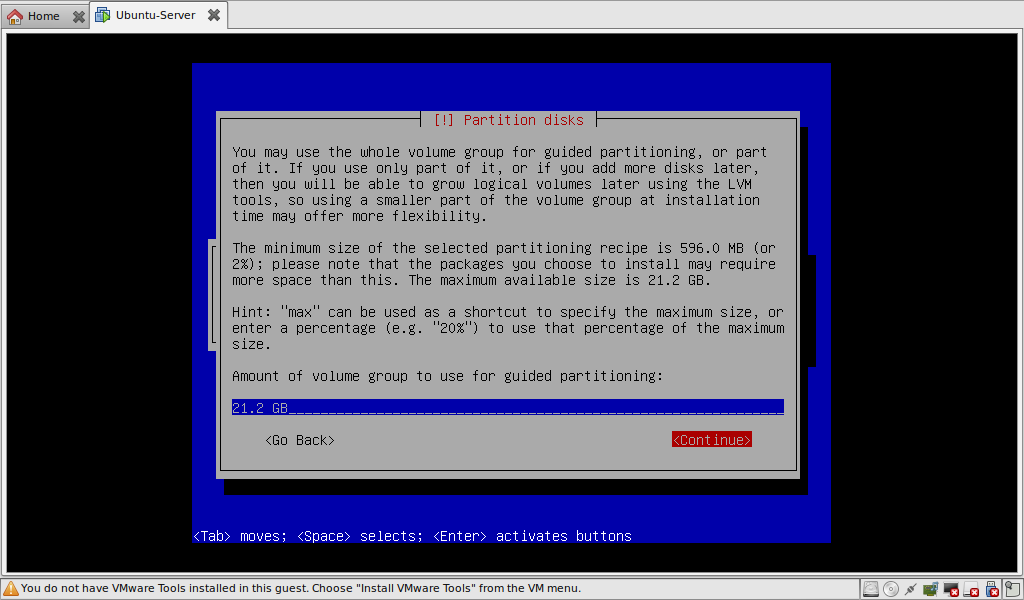
The size of the partition, you can just skip this, the default is good.
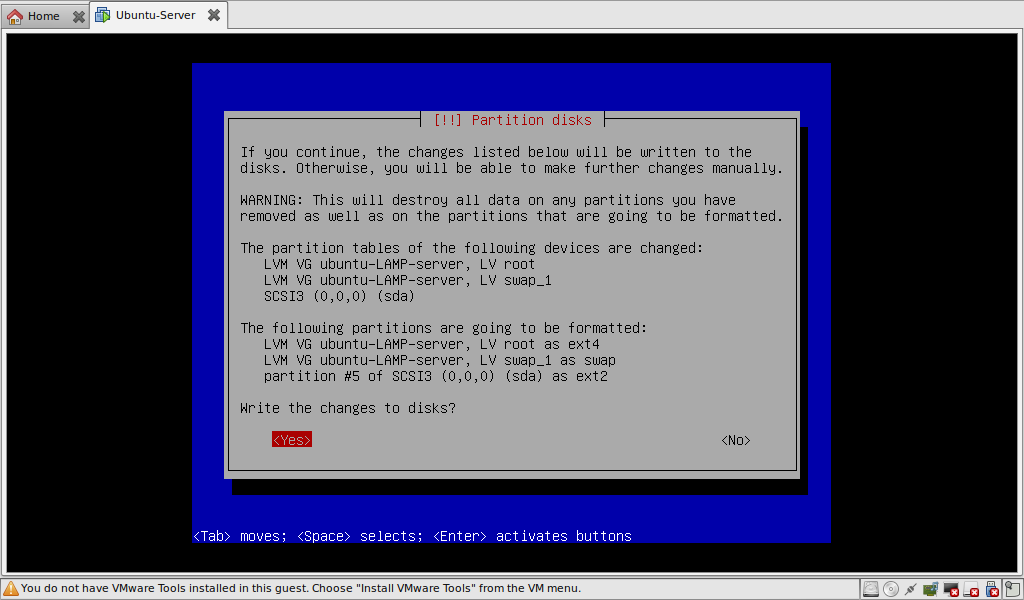
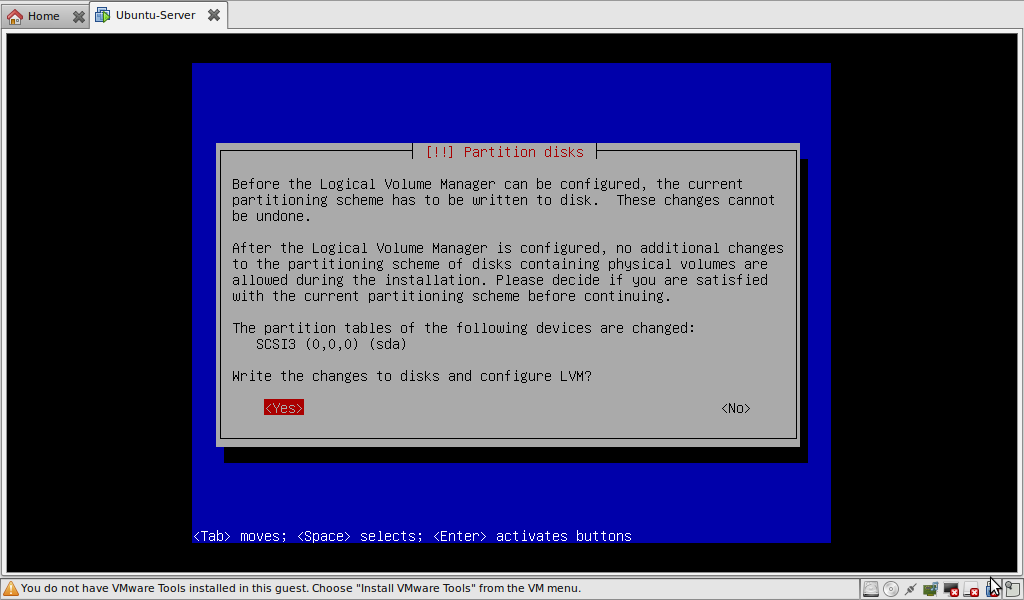
Again a confirmation, are you really sure you want to write this to the harddrive? yes we are!
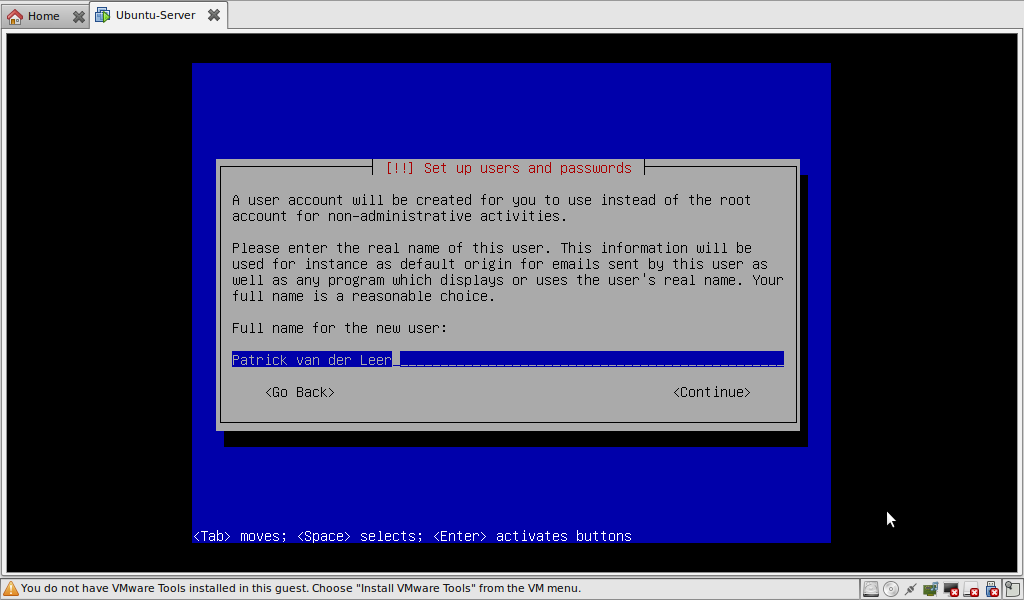
Speaks for itself.
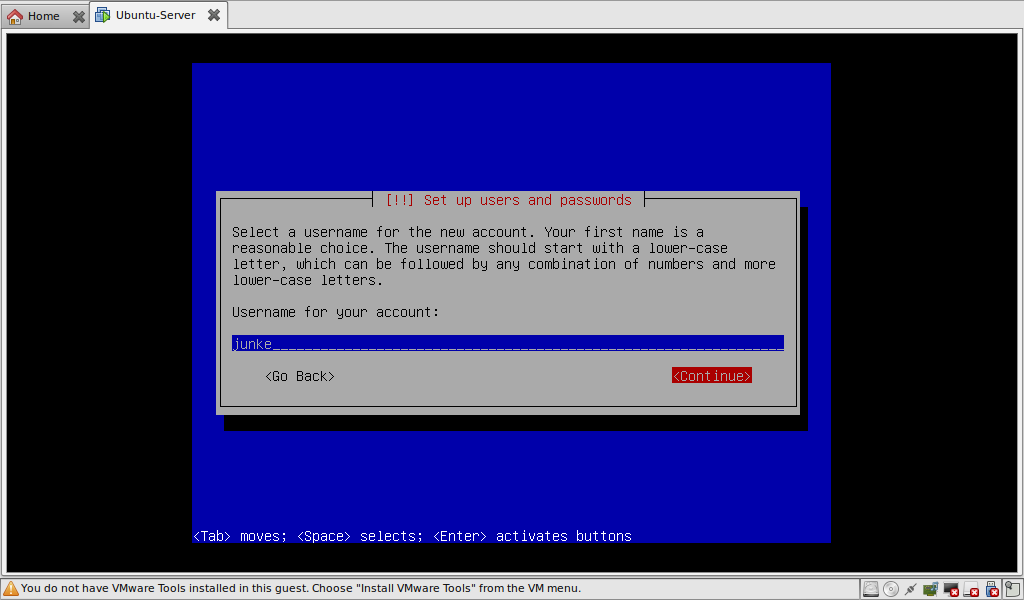
Account name, don’t use spaces, capitals or any strange characters in your account name! it can couse a lot of trouble.
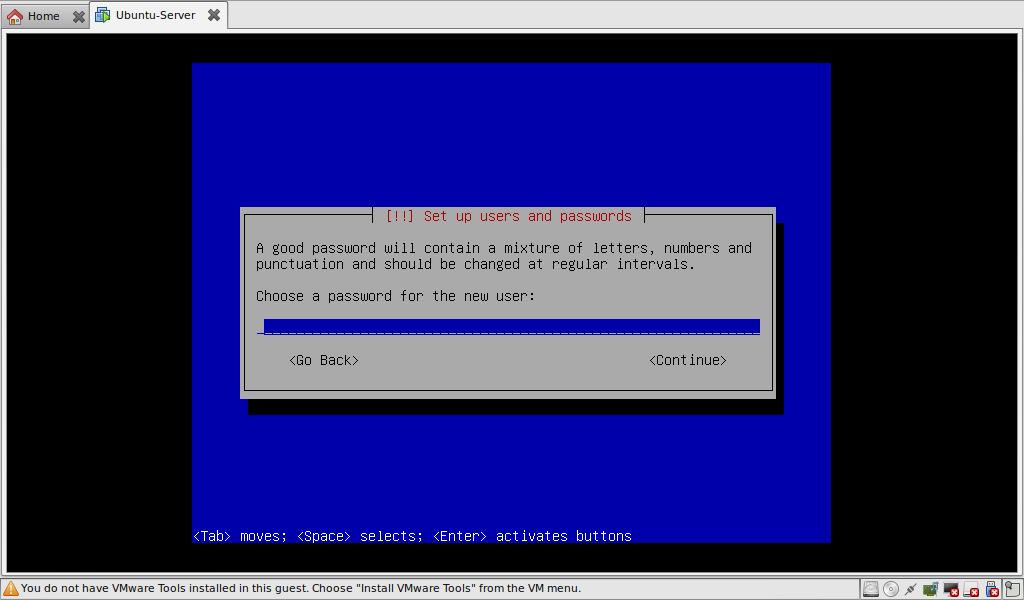
Password, nothing strange there. It is possible you get a warning that your password is weak, listen to this warning!
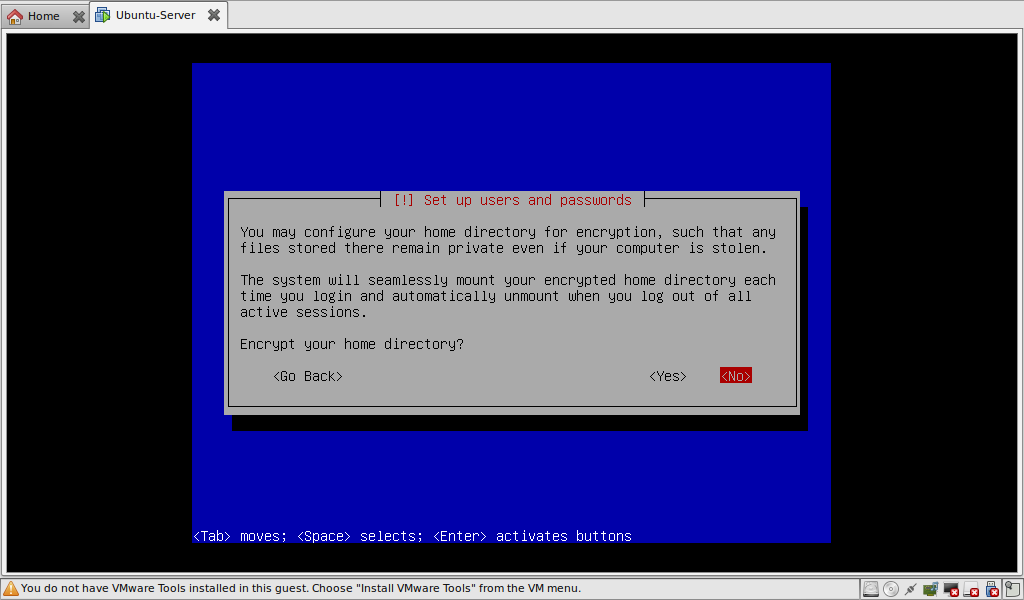
Encrypting your homedir, I’m not a big fan of this due to problems in the past, so my advice is leave it off and set the permissions stricter.
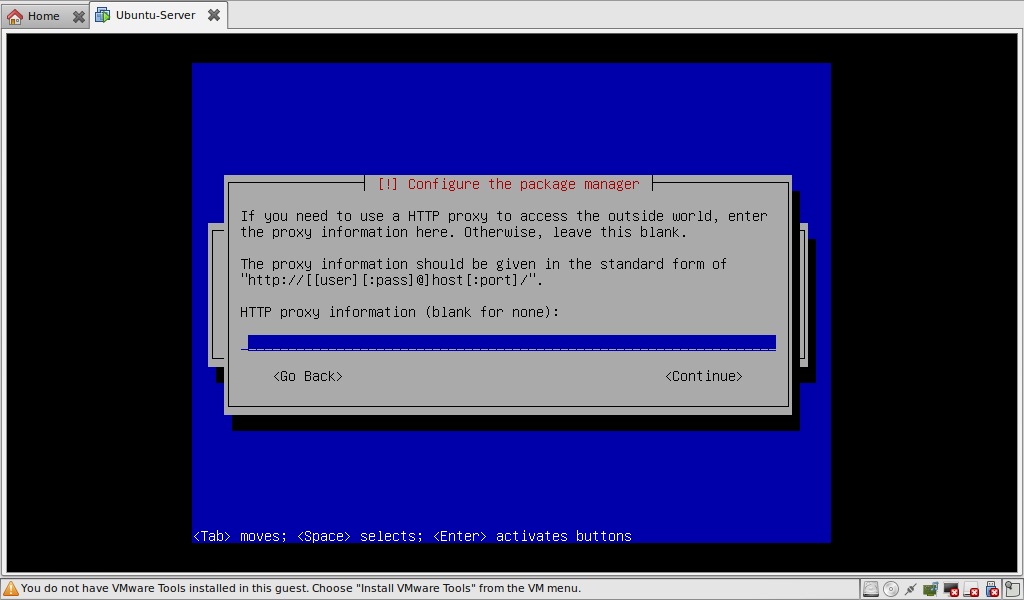
Normally a standard home-user doesn’t have a proxy but if you do have a HTTP proxy, fill it in (no surprise there).
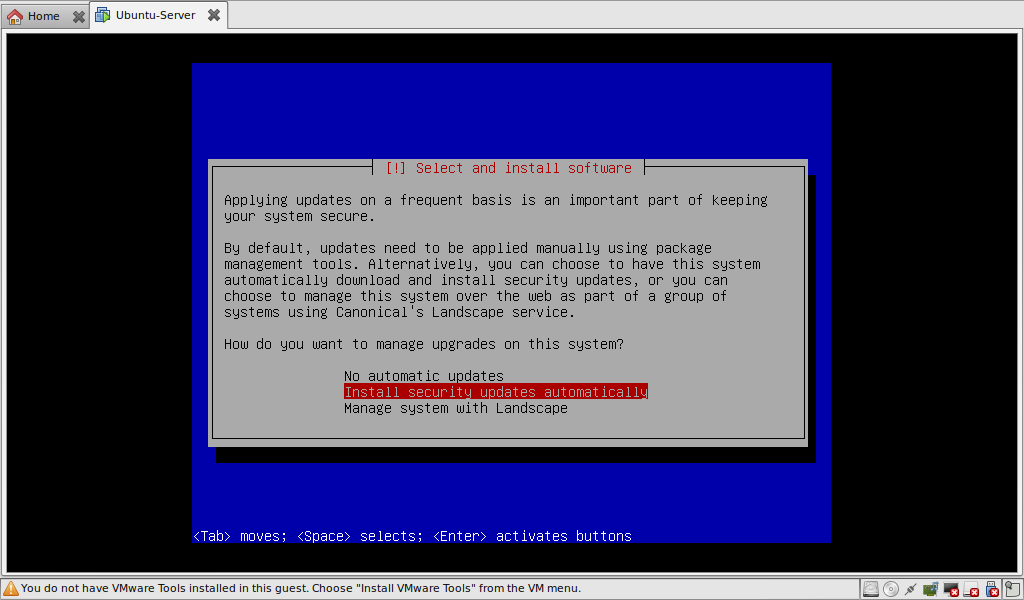
Owke now the big question, letting a server automatically running security updates. Since I do have a good experience with this I will let him do this. Keep in mind the decision is up to you!
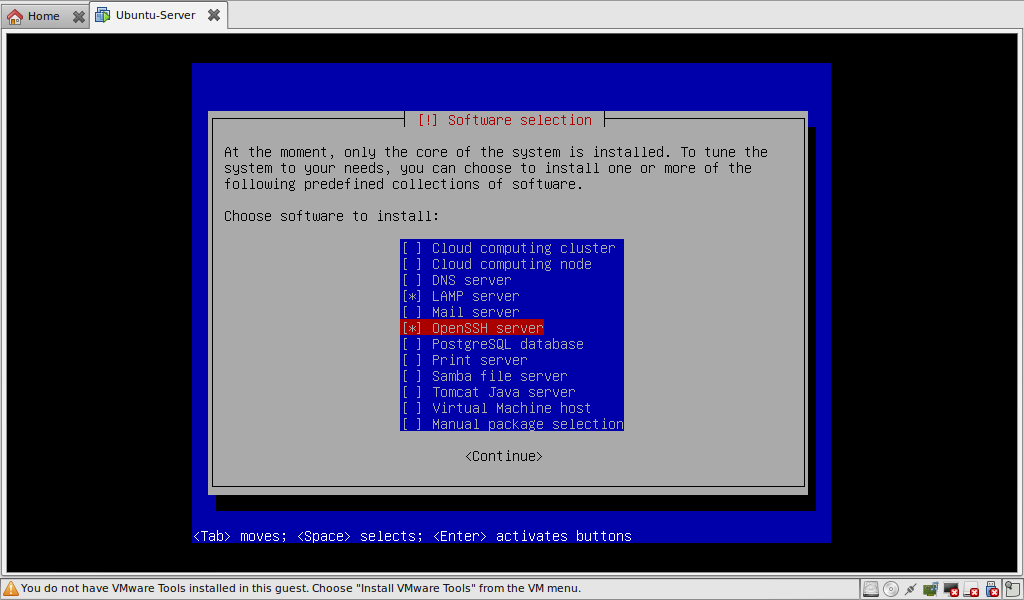
I choose the option, LAMP, (no really! xP) and the option SSH. Since I won’t be working on the server physically because I prefer my netbook I will install a SSH-server.
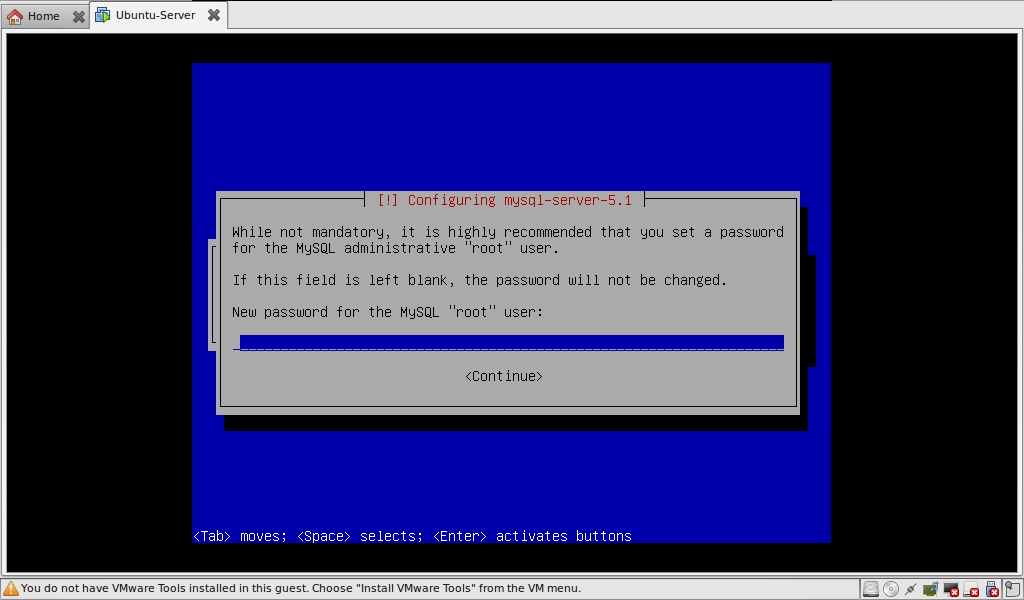
Now the root password for the MySQL database, this will be the only user to access the database and will only be allowed to log in from the localhost/the server itself.
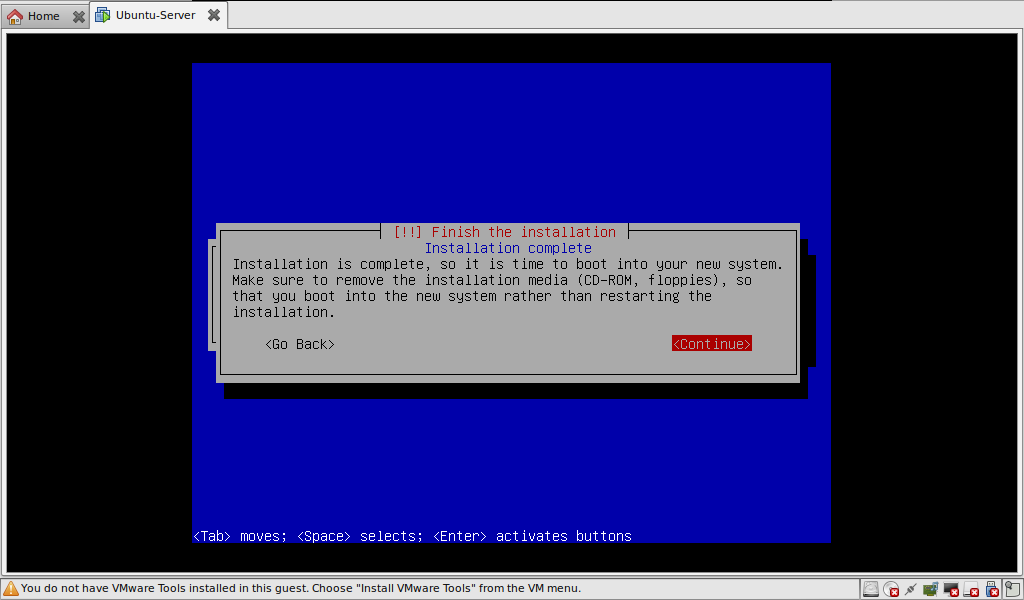
Done! The installation is done!
After a reboot we’re going to check if everything is working properly. boot it up and log in. after that we’re going to check the ip address of the server so we can connect to it from a different computer.
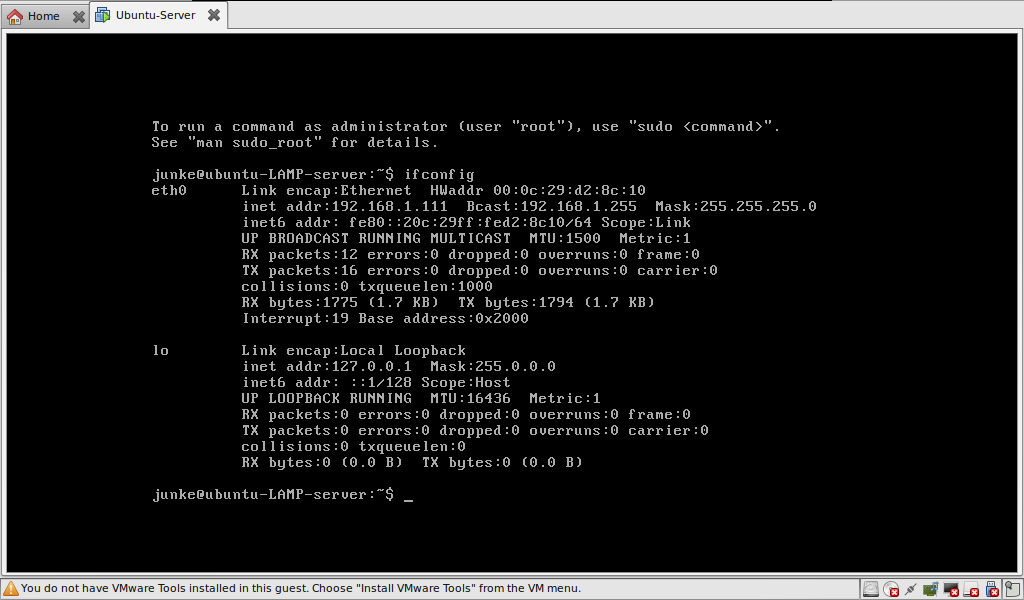
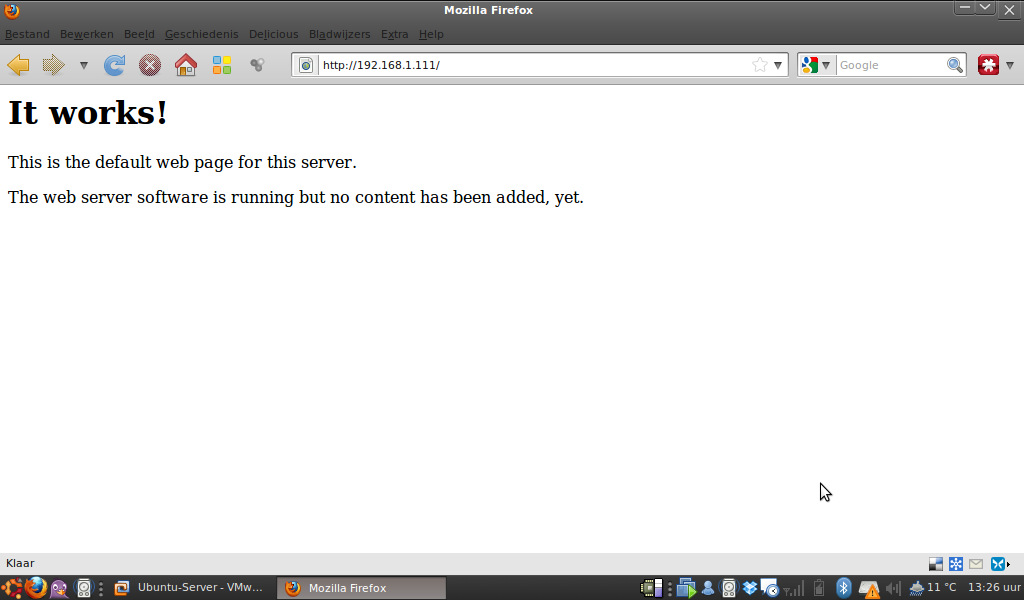
As you can see, at interface eth0, my IP(v4) address is 192.168.1.111 For testing the server open Firefox or any given webbrowser and type in your IP of your server. If you get the following screen, quess….
And the final check for today, checking if the ssh server is working properly.
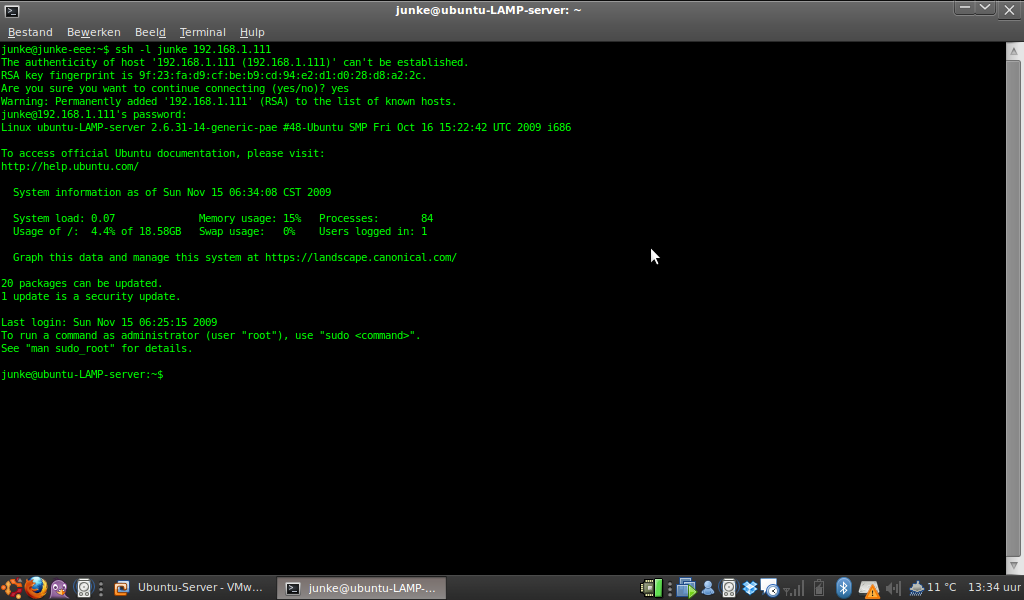
You’ll be promped if you want to add the has of the server to your known_hosts list, just confirm this with a yes. If you’re able to login everything will be up and running! Gratzzz!
Owke guys this was everything for today, I’m going to enjoy the rest of my weekend and will hopefully see you back in a couple of days!